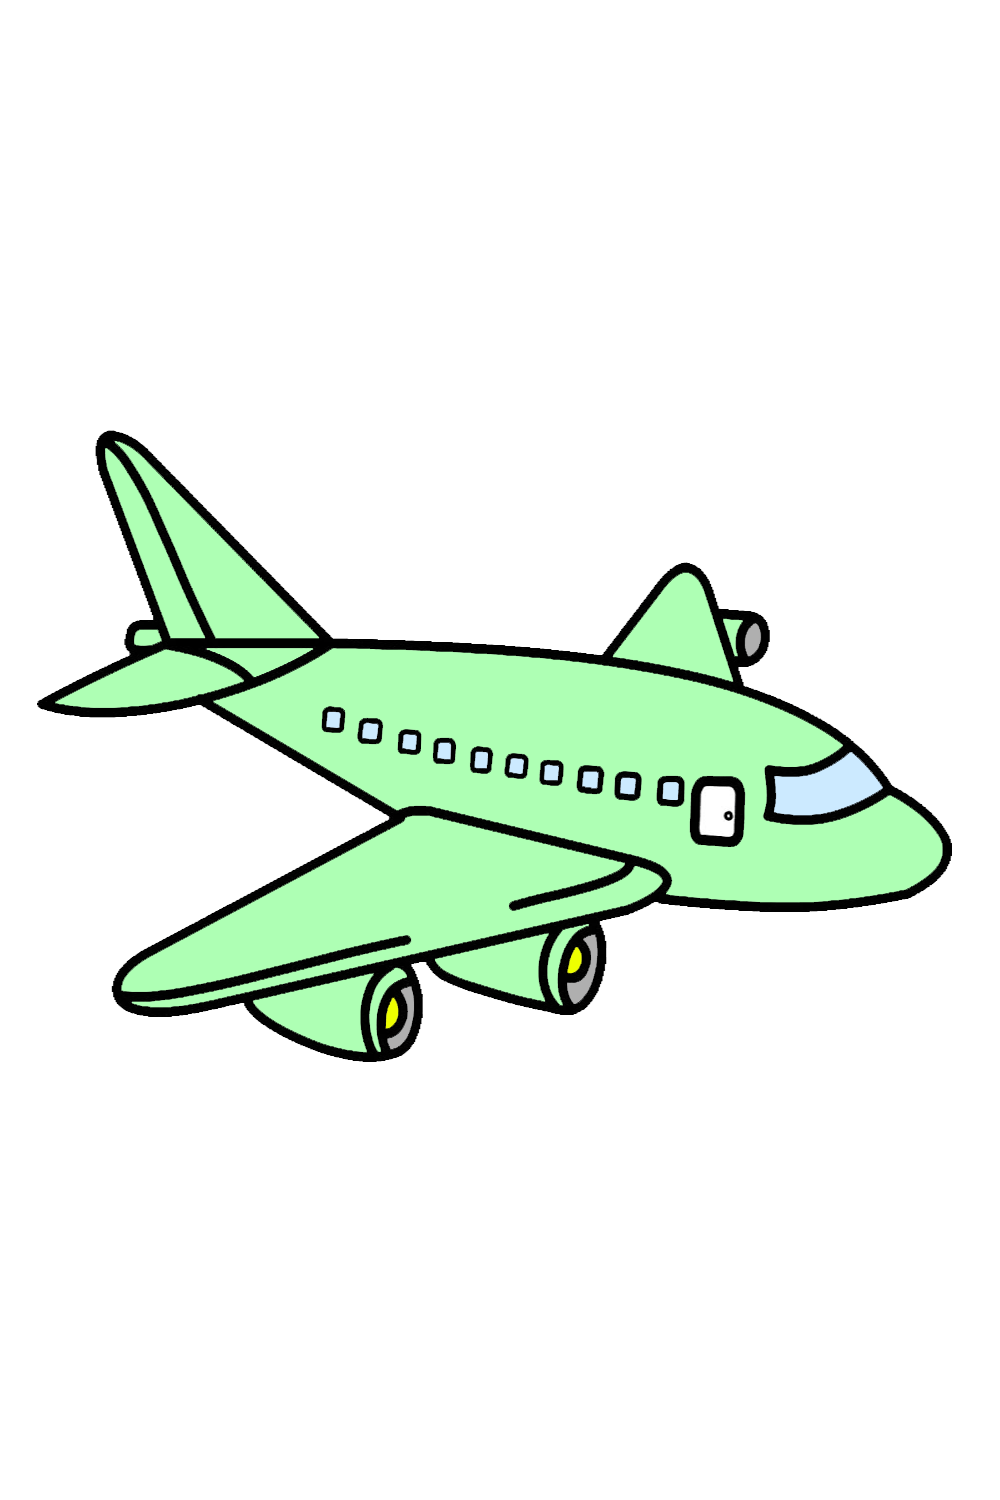
Plane Drawing Step by Step
Planes and other airplane are such a typical sight in the cutting edge world that it's not difficult to take what a mechanical wonder they are. They apparently resist the laws of physical science as they haul a huge number of individuals all over the world consistently. Learn this blog and visit our latest drawing tutorials like Cartoon Popeye Drawing
While they may incidentally be underestimated, there are as yet numerous flying fans all over the planet that can't get enough of their number one airplane.
They are likewise all around portrayed in many types of media, however regardless of whether you love them as well, you could imagine that drawing one would be troublesome. We made this bit by bit guide on the most proficient method to attract a plane to show you that it's simple as well as heaps of tomfoolery!
Stage 1 - plane drawing
For the initial step of our aide on the most proficient method to draw a plane, we will begin with the upper part of the plane. To do this, just define a bended vertical boundary that will shape some portion of the nose, and afterward draw a long marginally bended even line.
At long last, define a pointedly bended vertical boundary for the highest point of the tail of your plane drawing. With the beginning of your plane done, you're prepared for stage 2!
Stage 2 - Next, draw the lower part of the plane
To make an underside for your plane drawing, you can reflect the lines that you made for the initial step. The distinction will be that there won't be a huge blade sticking out like there is on top of the tail.
All things being equal, essentially draw a little balance piece emerging from the side. It will likewise assist with taking a gander at the following stage to see where the wing will be going so you can leave a space for it.
Stage 3 - Presently, draw the main wing
We'll add a wing in this third step of our aide on the most proficient method to draw a plane. You'll be happy that you left a space for it in the past step!
The wing will be made of a long, bended line bending somewhat back towards the tail of the plane. It might look a piece uncovered right now, however you'll add a detail to it a piece later on in this aide.
Stage 4 - Draw the other wing and window of the plane
You make them wing for your plane drawing, so for this step how about we add another. This one is on the opposite side and at a seriously unique point, so it will have an alternate shape.
This one will have a more three-sided, tortilla chip shape to it. When that's what you have, your plane necessities a window so the pilots can see where they're going! To do this, just draw a bowed square shape over the cockpit to make a window as it shows up in the reference picture.
Stage 5 - Next, draw a few motors
Planes wouldn't get much of anywhere without motors to impel them, so we better add some in this step of our aide on the most proficient method to draw a plane! To draw one of these strong motors, basically draw a long oval shape falling off from the wing.
You can draw the subtleties within this circle, and afterward utilize a bended line returning to make the body of the motor. There will be two motors to our right side while seeing this image, and there will be one more modest one to our left side. When you make them look as it does in the reference picture, you're prepared to continue!
Stage 6 - Draw a few last subtleties for your plane drawing
It's nearly time to begin shading in your plane drawing, however before we get to that, you can draw a few last subtleties. We've shown you a couple of subtleties that you could draw.
For instance, there are little windows coming the plane and an entryway behind the cockpit. E additionally defined a boundaries along the wing and tail to polish it off.
These are only a couple of subtleties that you could add, however you ought to go ahead and add any that you like! On the off chance that you have a most loved airplane or carrier, you could attract subtleties that would make your drawing seem to be just one.
What tomfoolery subtleties and additional components do you suppose could look great for your plane? Maybe you could draw a delightful foundation for it!
Stage 7 - Polish off your plane drawing with some tone
Since you have wrapped up drawing your plane and have filled in the last subtleties, you can have a great time shading in your craftsmanship in this last step of our aide on the best way to draw a plane!
We have shown you one way that you could approach shading in, however here you can truly allow your imagination to stream. There are no incorrect ways of shading in, so you ought to make it look precisely the way in which you would like.
You could look into pictures of genuine airplane for motivation also! Then, at that point, when you know the varieties you might want to utilize, you can have a great time trying different things with some pleasant craftsmanship mediums!
You could get some extraordinary variety lucidity for certain hued pens and acrylic paints or go for certain watercolors and shaded pencils for a milder, more one of a kind look.